
As a personal art project, I decided to create a statue of a game character that I had come to enjoy playing. Paragon is a hero / action based MOBA, that I had been playing, and had become fond of a particular hero: Grux. I have built characters for games before, but I had never tried anything high resolution, and I am deeply interested in 3D printing, so I decided to dive in. I decided part way through to begin documenting, so this doesn't encompass everything, but it gets most of the process.
We begin in ZBrush, well into the sculpting phase of this project. One of my goals was to produce a recognizable facsimile of Grux, not a carbon copy. So there are differences in my model, compared to the in game model, but I think there are enough similarities to give a clear impression of what and the statue represents.
Being a video game meant I didn't have to go very far to find references for the parts I wanted to create, which in the end, helped me recapture most details to help sell the imitation.

The first hurdle in the project would be to divide the model up, so that the parts could be printed and assembled later. This was done because I knew I wanted a fairly large print, and one of the limitations of 3d printers is in printing cavities, and overhanging geometry. So after I was happy with the sculpting details in my model, I began to cut it up into smaller parts.

Once separated, I "keyed" the parts so they would align in the right orientation without much help. In hindsight, this was probably unnecessary, as the 3d printer I was using was fairly good at replicating large details, and as you'll see, it ended up causing more work for me in the end.
My first print failed after 30 something hours. It was printed with no infill (solid all the way through). Though failed, I’d still keep the parts around for playing with different glue's and paints to find what worked well. It also helped me re-scope the size of the details I wanted to print, which made the second run larger over all.


For the second run, I changed the infill to "sparse" meaning the inside was filled with cross-hatched walls rather than being solidly filled with plastic. This mean faster prints ( yay! ), but it also meant that some of my parts were less resilient. ( boo! )


A fit and detail check. The model in Meshlab Vs the printed parts. There are some slight details lost, but over all not bad for a 10 year old 3d printer.
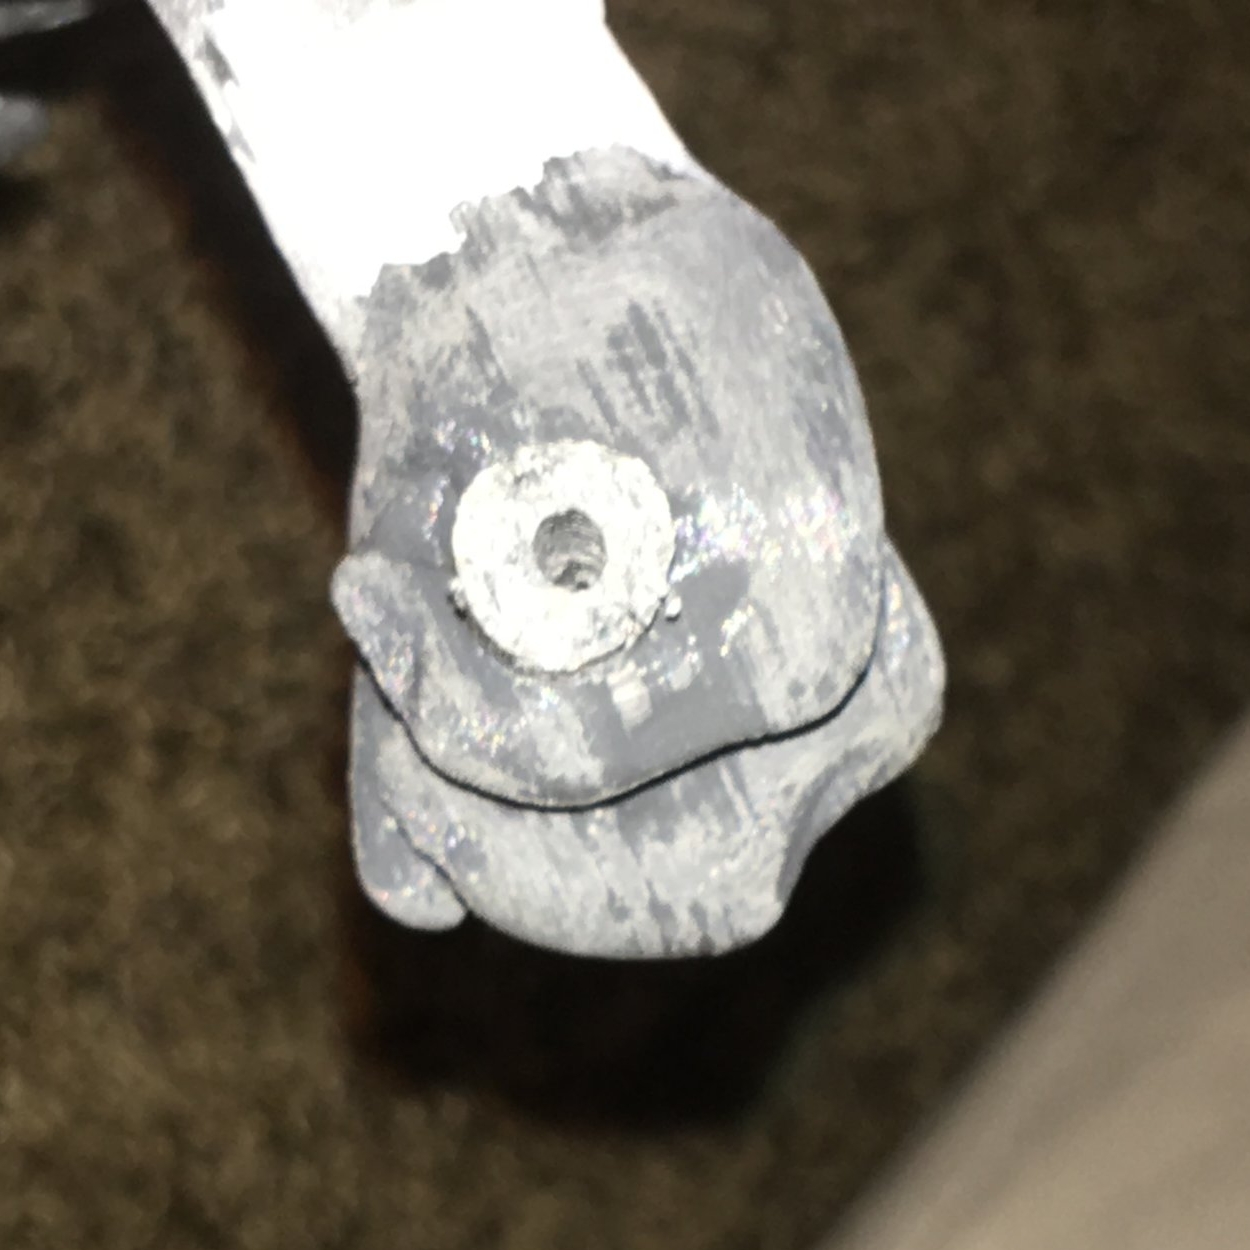
The finished, keyed parts were finally ready to remove from the support structure. During removal I was a bit too eager to try to fit it all together, and the infill problem I mentioned above become apparent as I pulled the part from its support, it flexed a wee bit too much, and this happenend.

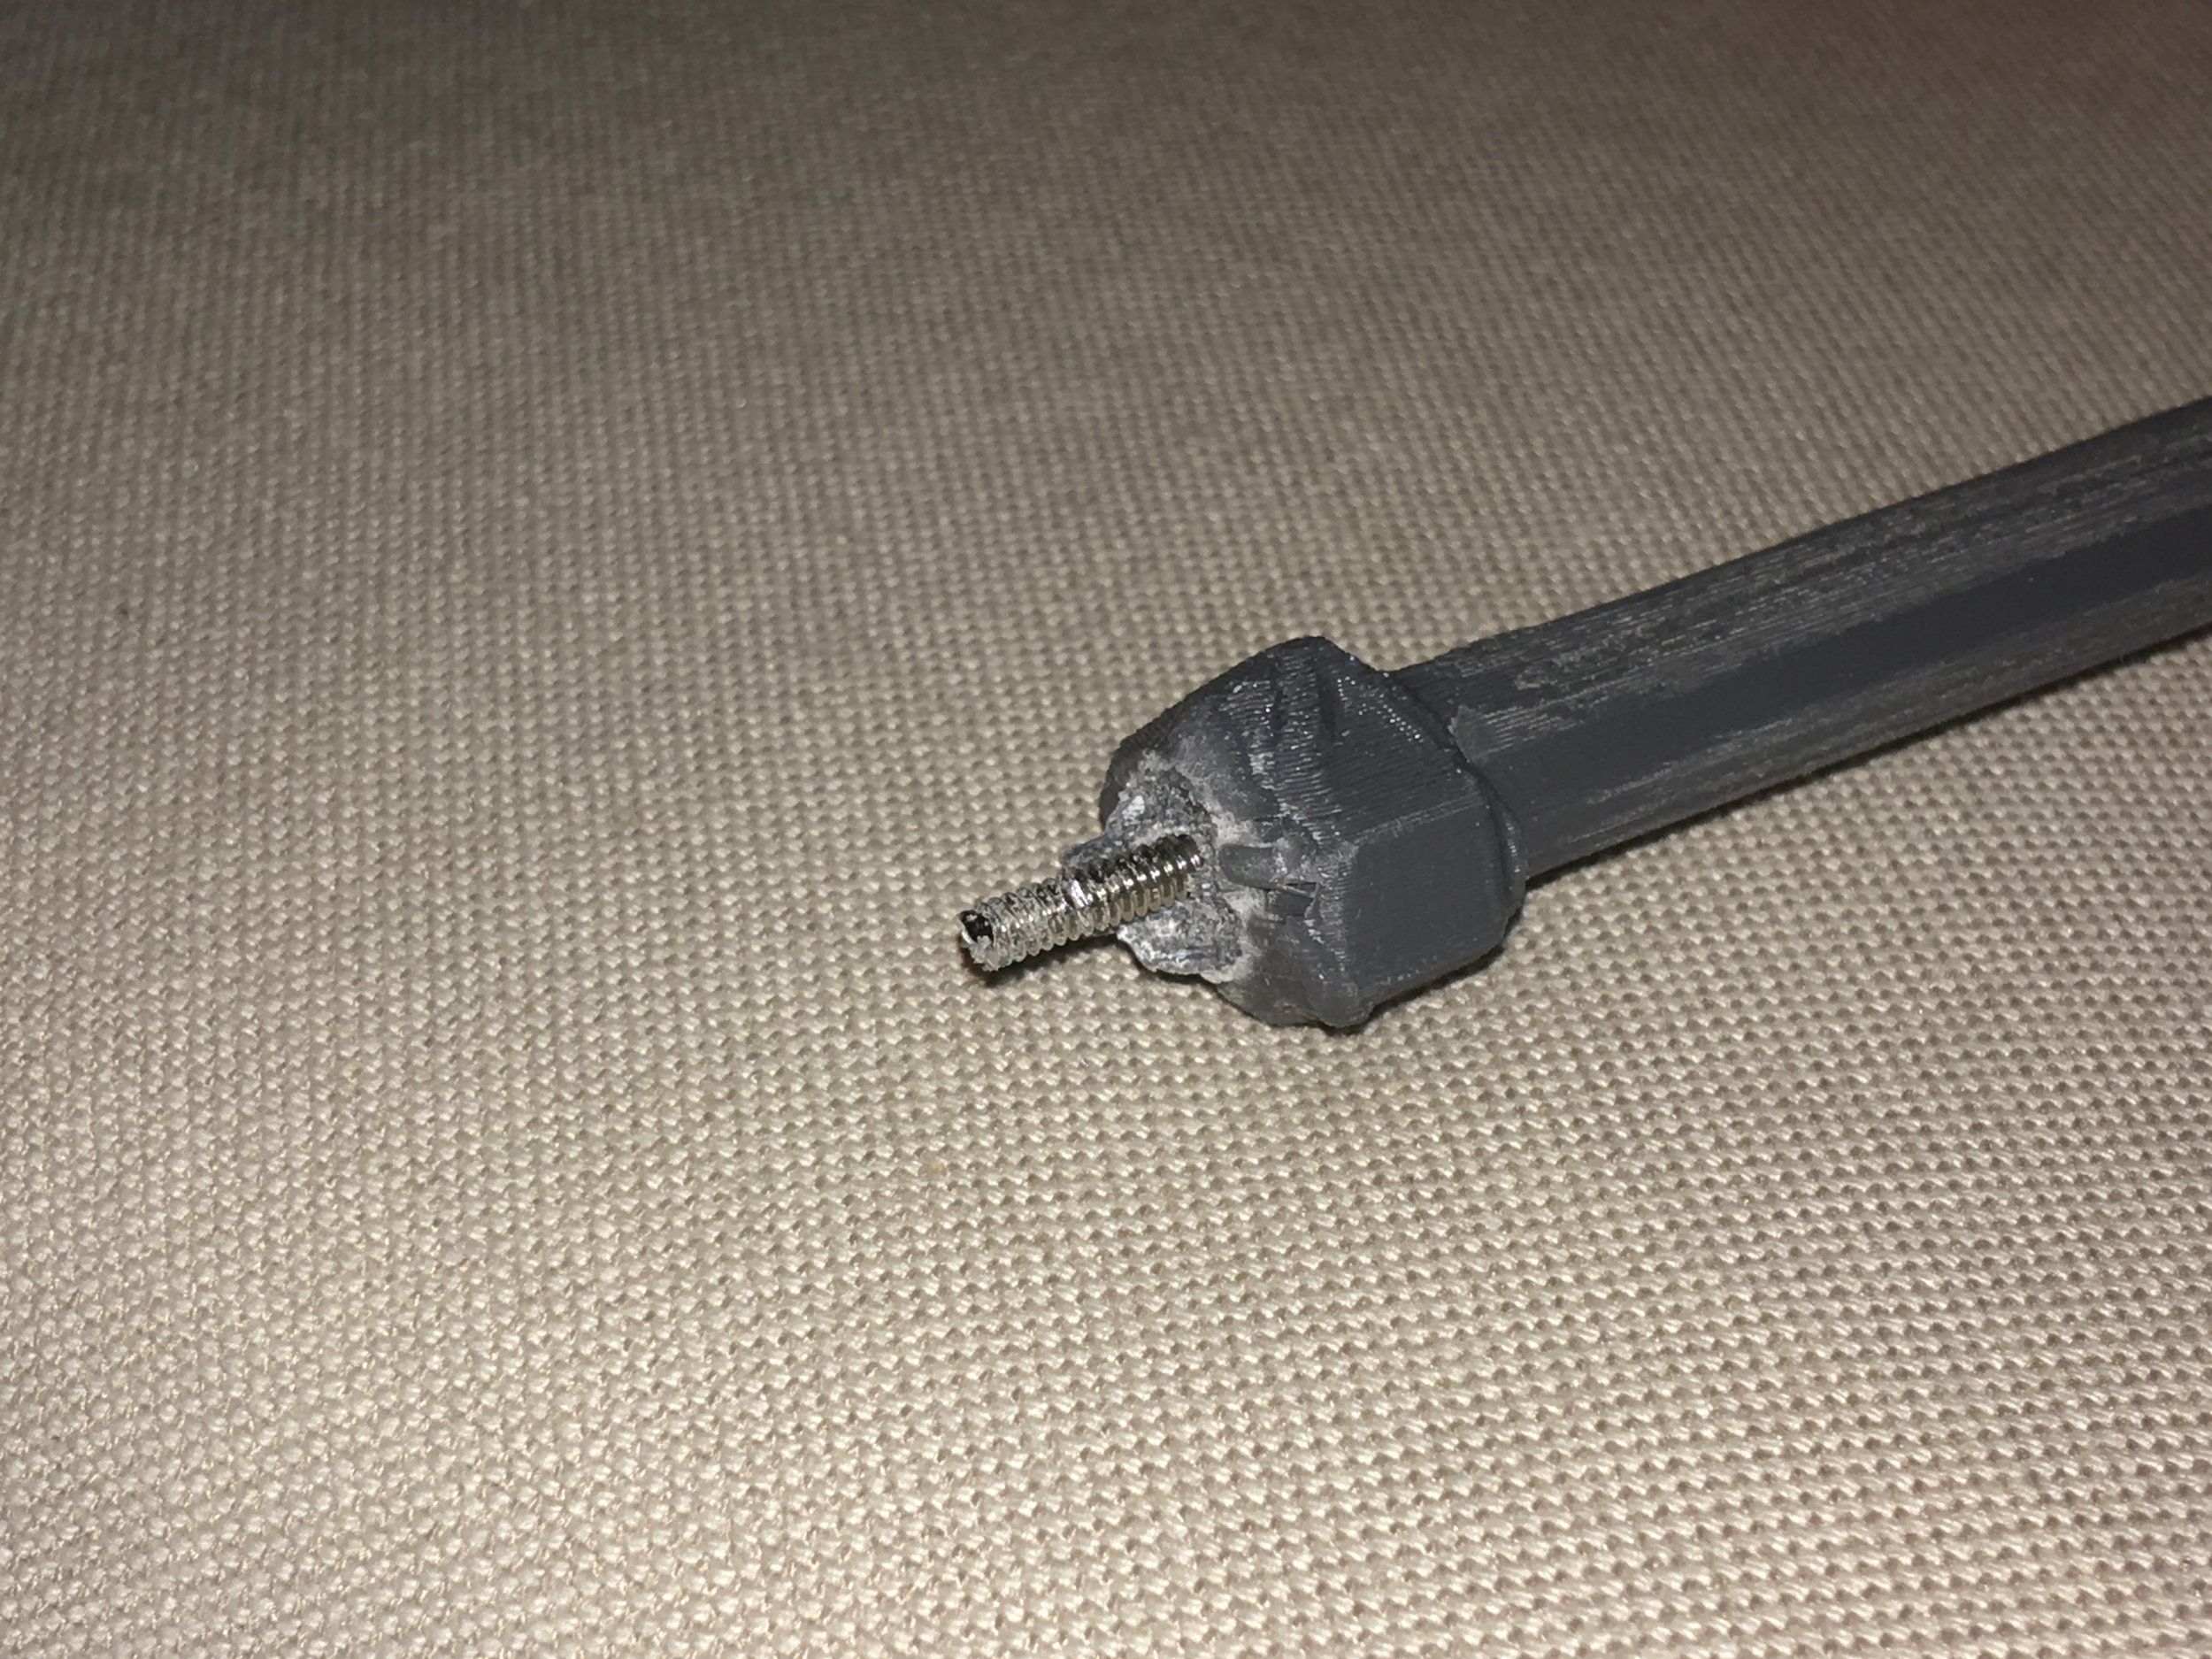
To fix this, I hacked off the head of a bolt, thinner than the shaft of the weapon, and inserted it. Since it was sparse fill, this turned out to be a somewhat “good thing” , as the cross pattern of the infilled material was able to grasp on to the bolt threads, making a snug and secure fit. Experience is the name we give our mistakes.


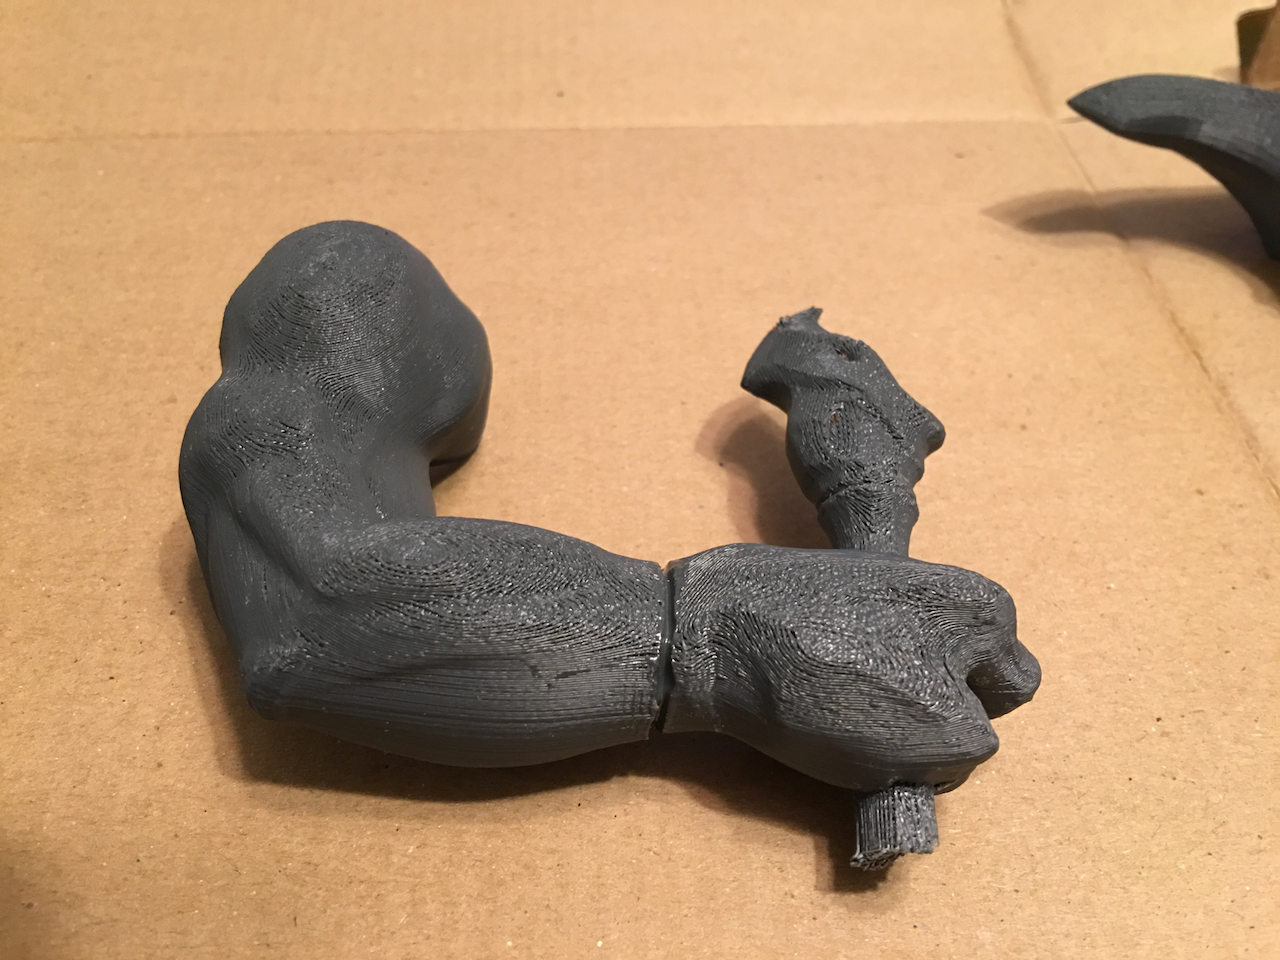
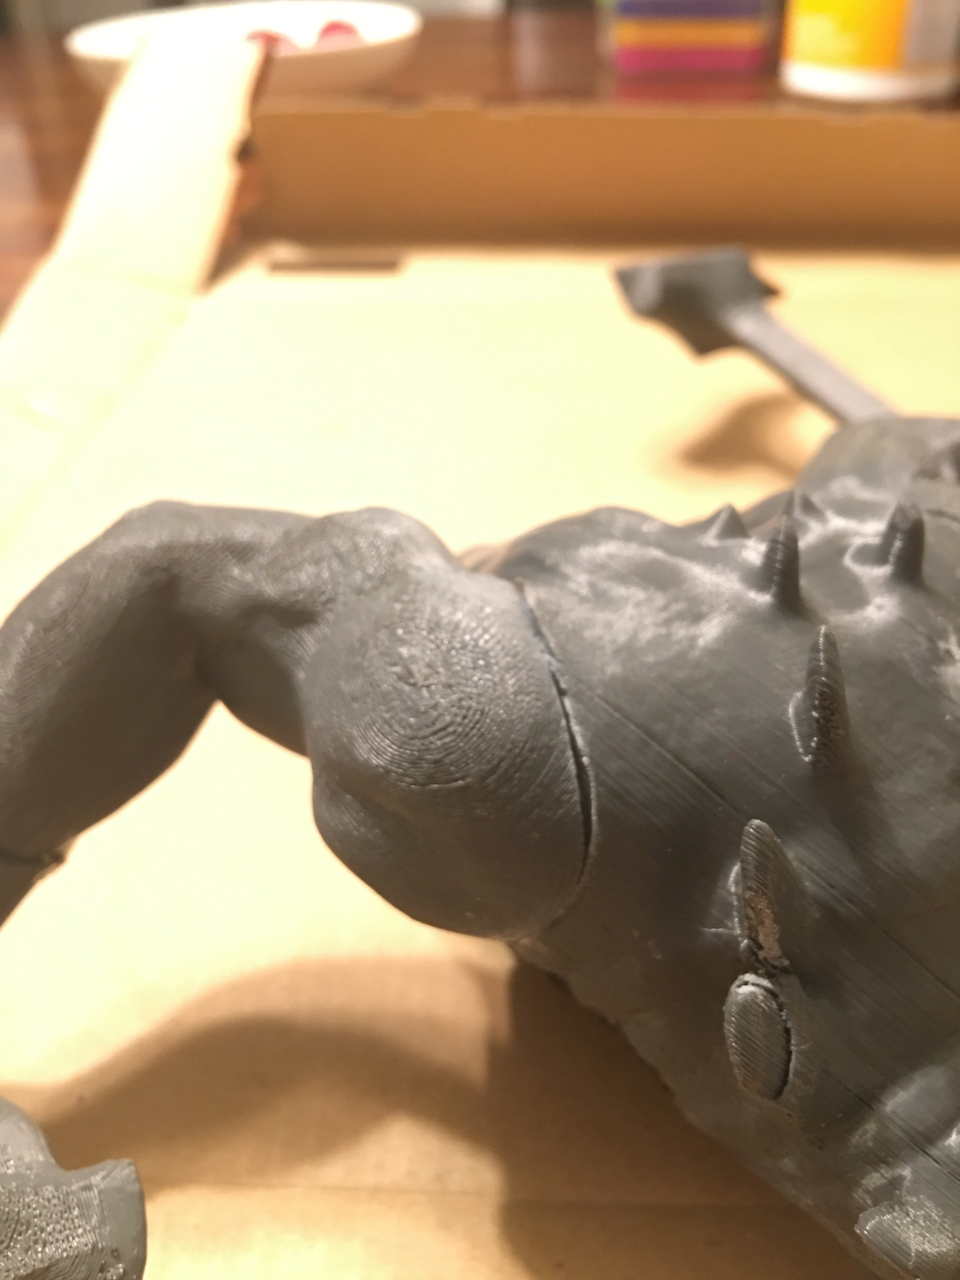
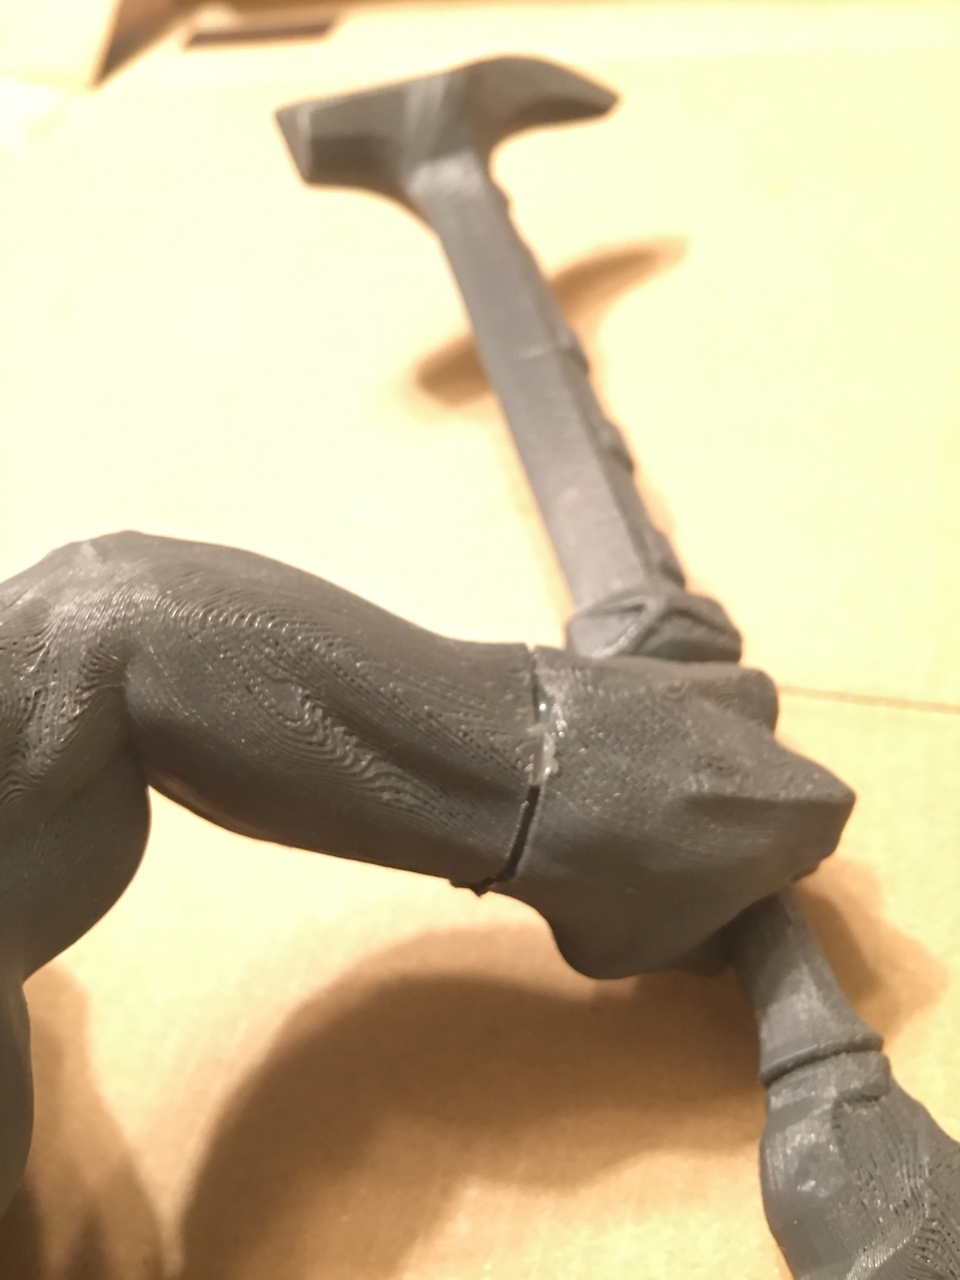
Speaking of mistakes. During a fit check, I wedged arm into the arm socket a bit too firmly, and in removing it, broke the key off into the arm socket .I had to break the key to reposition the arm, and in doing so, earned myself another merit badge by working it until the problem was solved. I sanded down the excess, drilled a hole to help align the arm in the right position, and used an Cyanacrylate glue ( super glue ) to fix the arm in place. This brought another problem into focus. When the CA glue cured, it turned the 3d printed plastic white around the edges where the glue was applied. Not wanting further problems, I switched to a 2 part epoxy, which did a much better job, and was more forgiving.

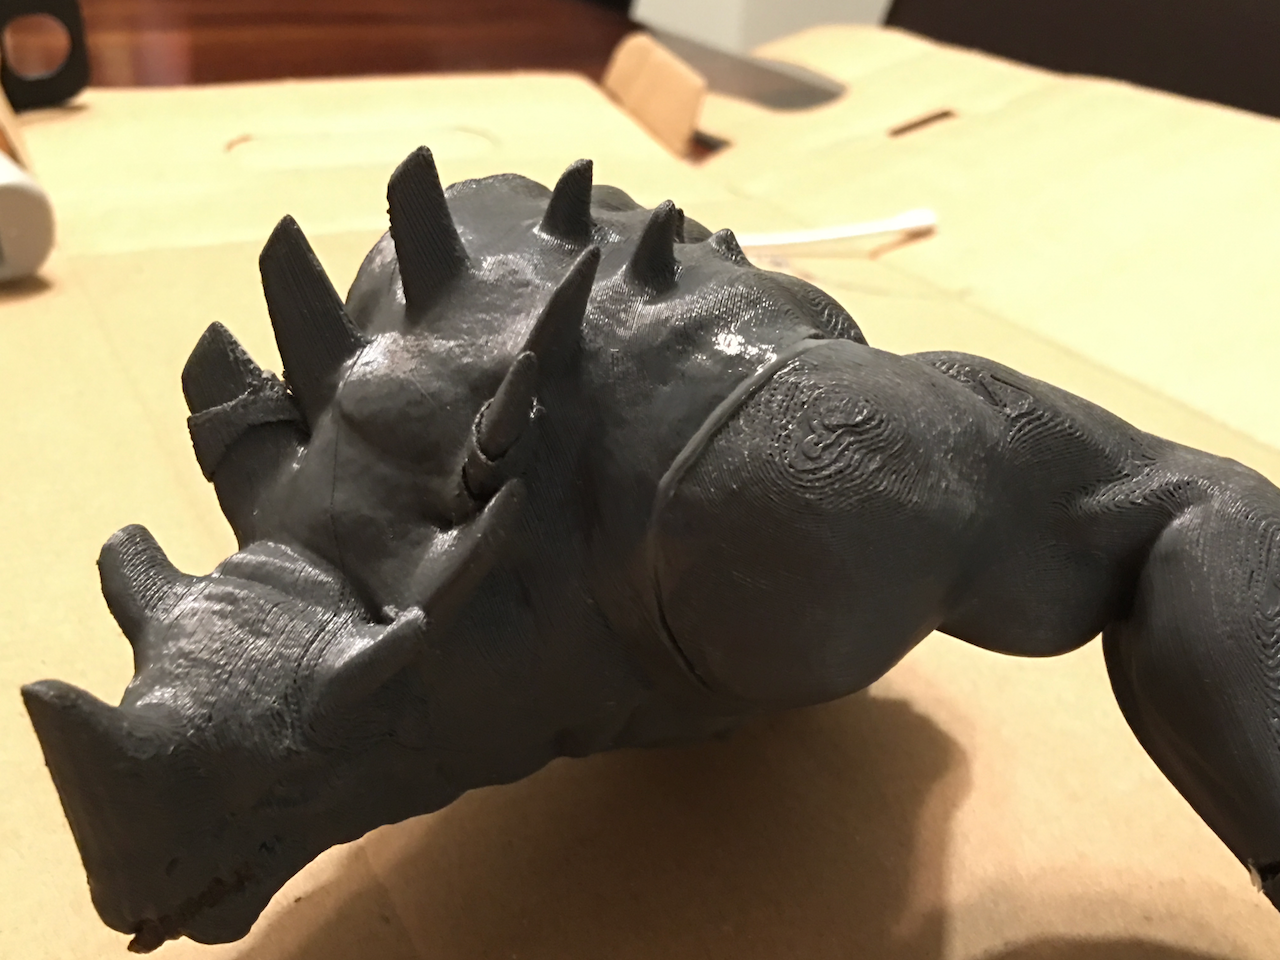

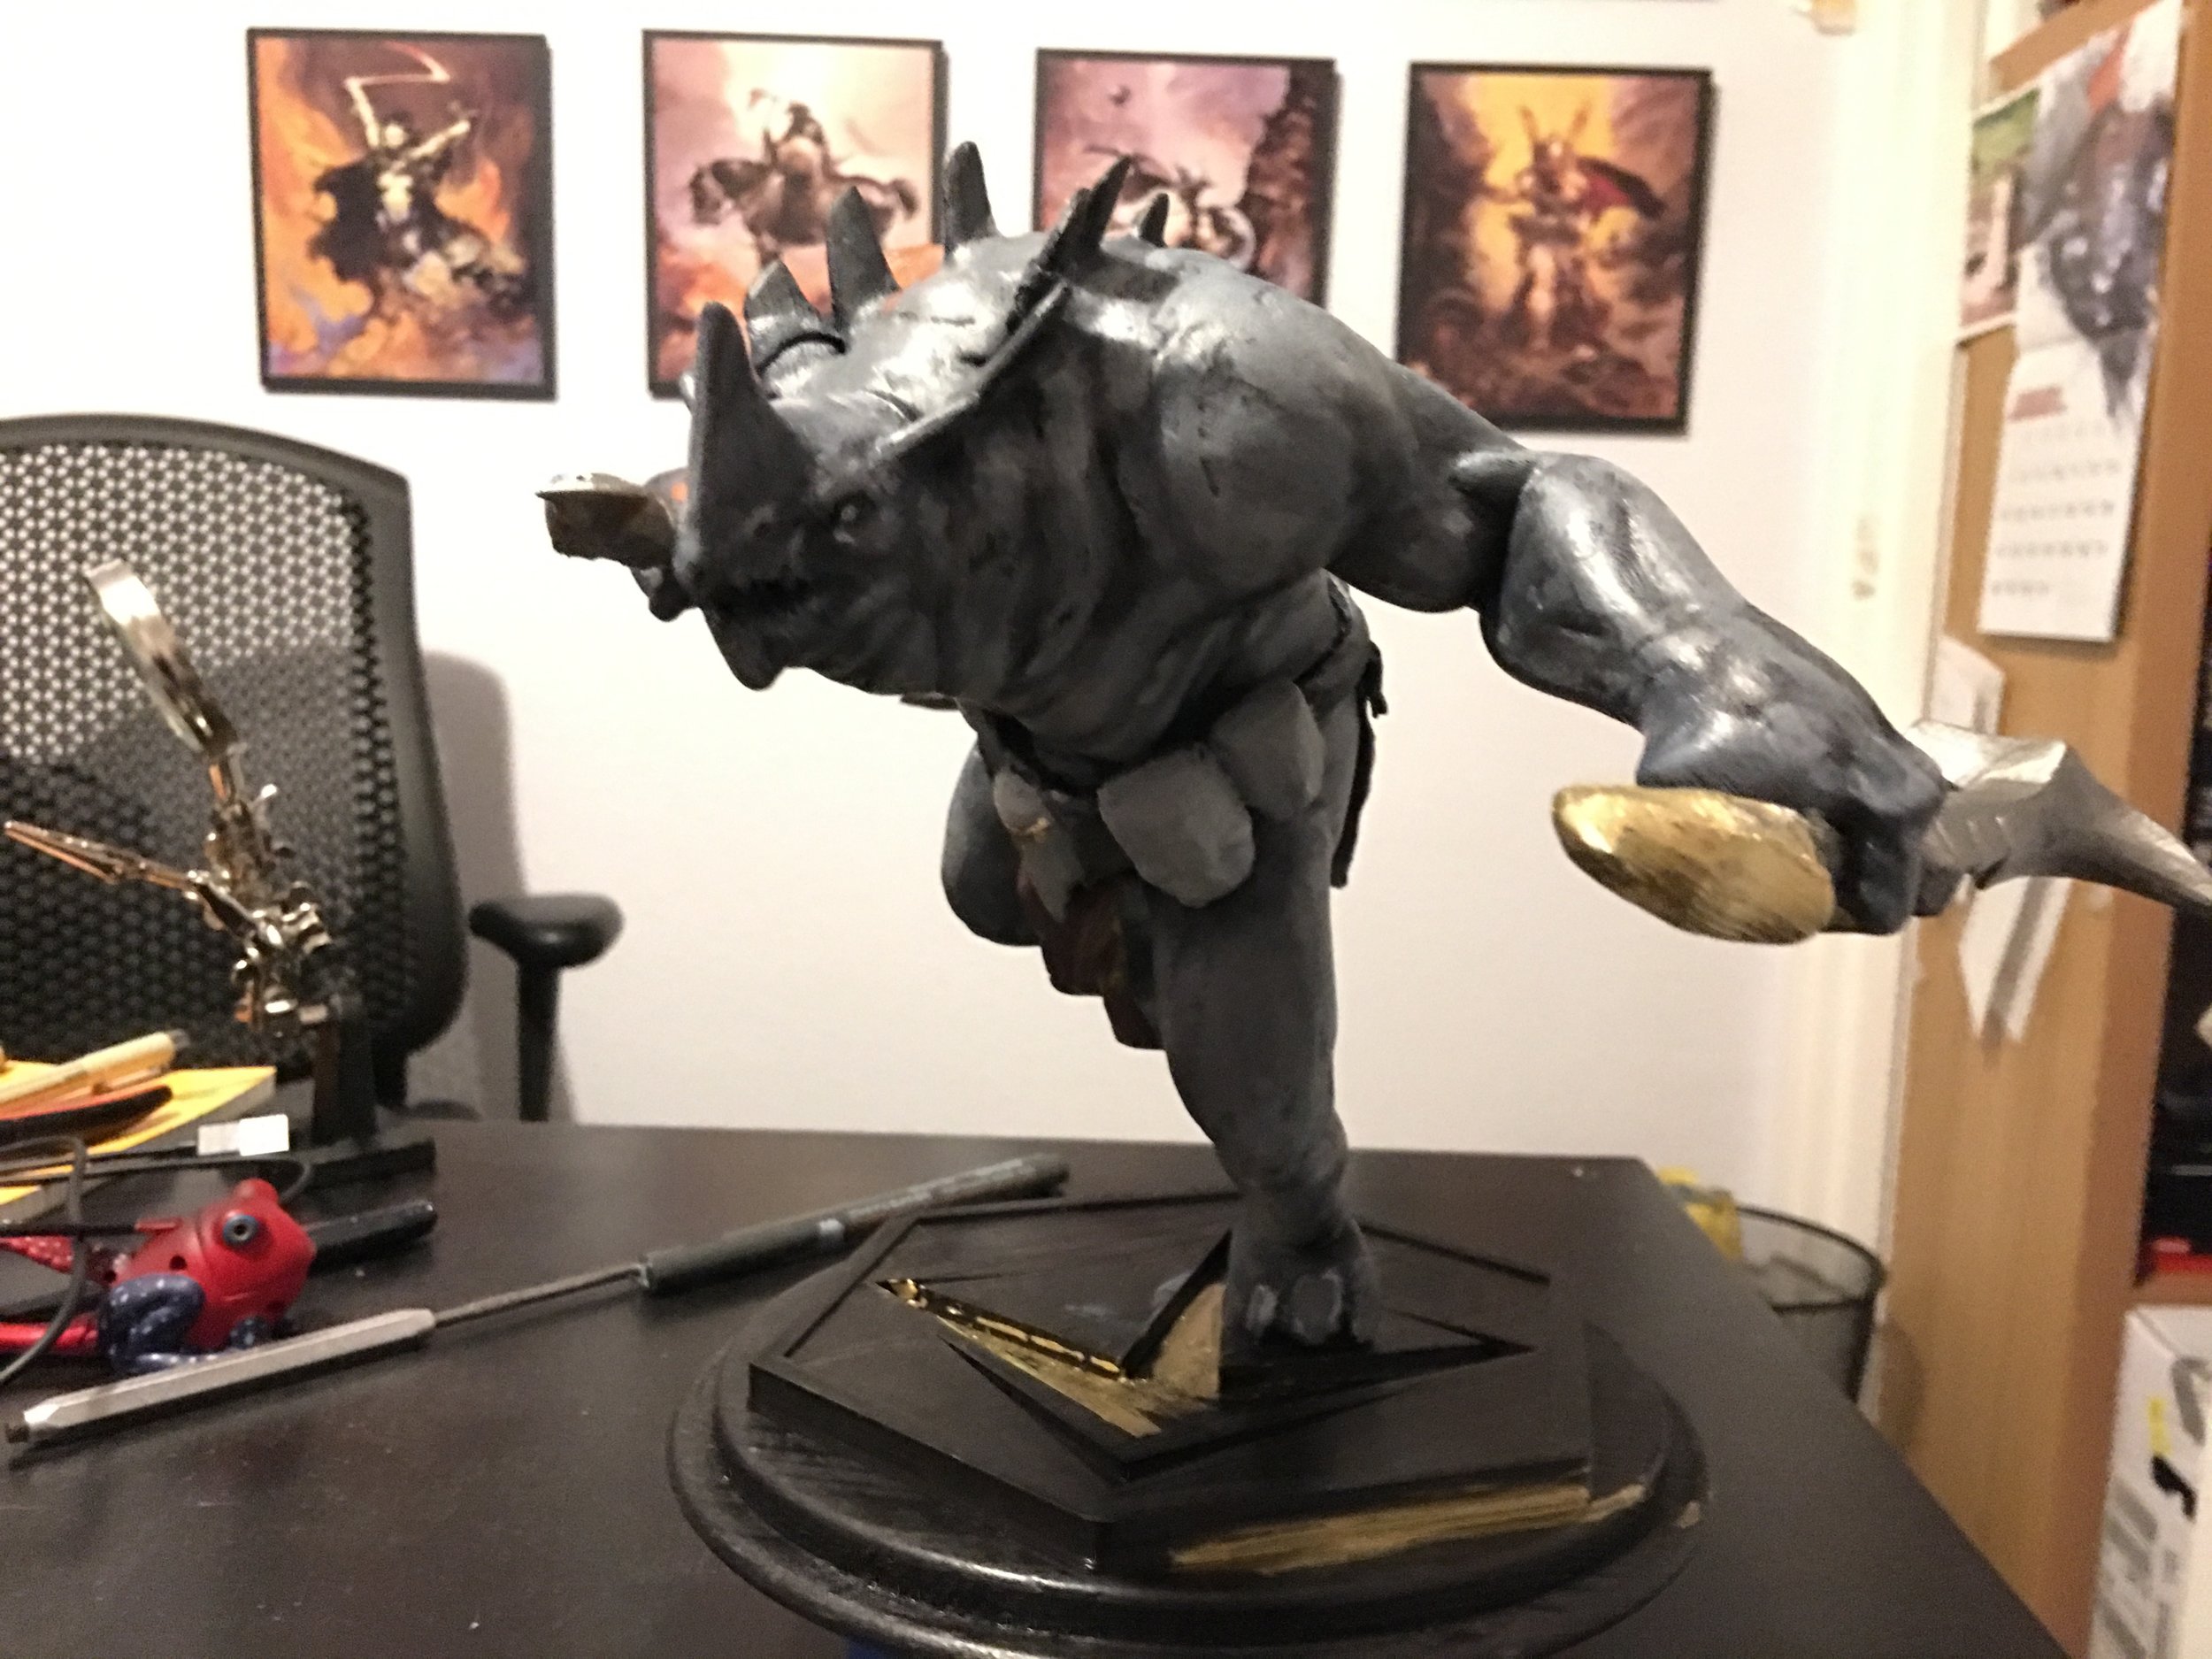
After all the parts were joined, I used modeling putty to hide the gaps, and began the long process of sanding.


From here, I began work on the stand, and primed the model for painting. I did not capture the paint process, but I used the darker primer to serve as some of the shadows in the model itself. These are thinned acrylic based paints.


Of note here is that the pose I have Grux in isn't particularly weighted well to stand one one leg. I drilled through the plastic base and up into the foot, and inserted a furniture dowel through both. This connection was good, but not great. I ended up using a wooden base underneath with a tighter hold on the dowel, and gave it the structure it needed. After joining everything together with some wood glue, Grux assumes his dynamic pose with ease.

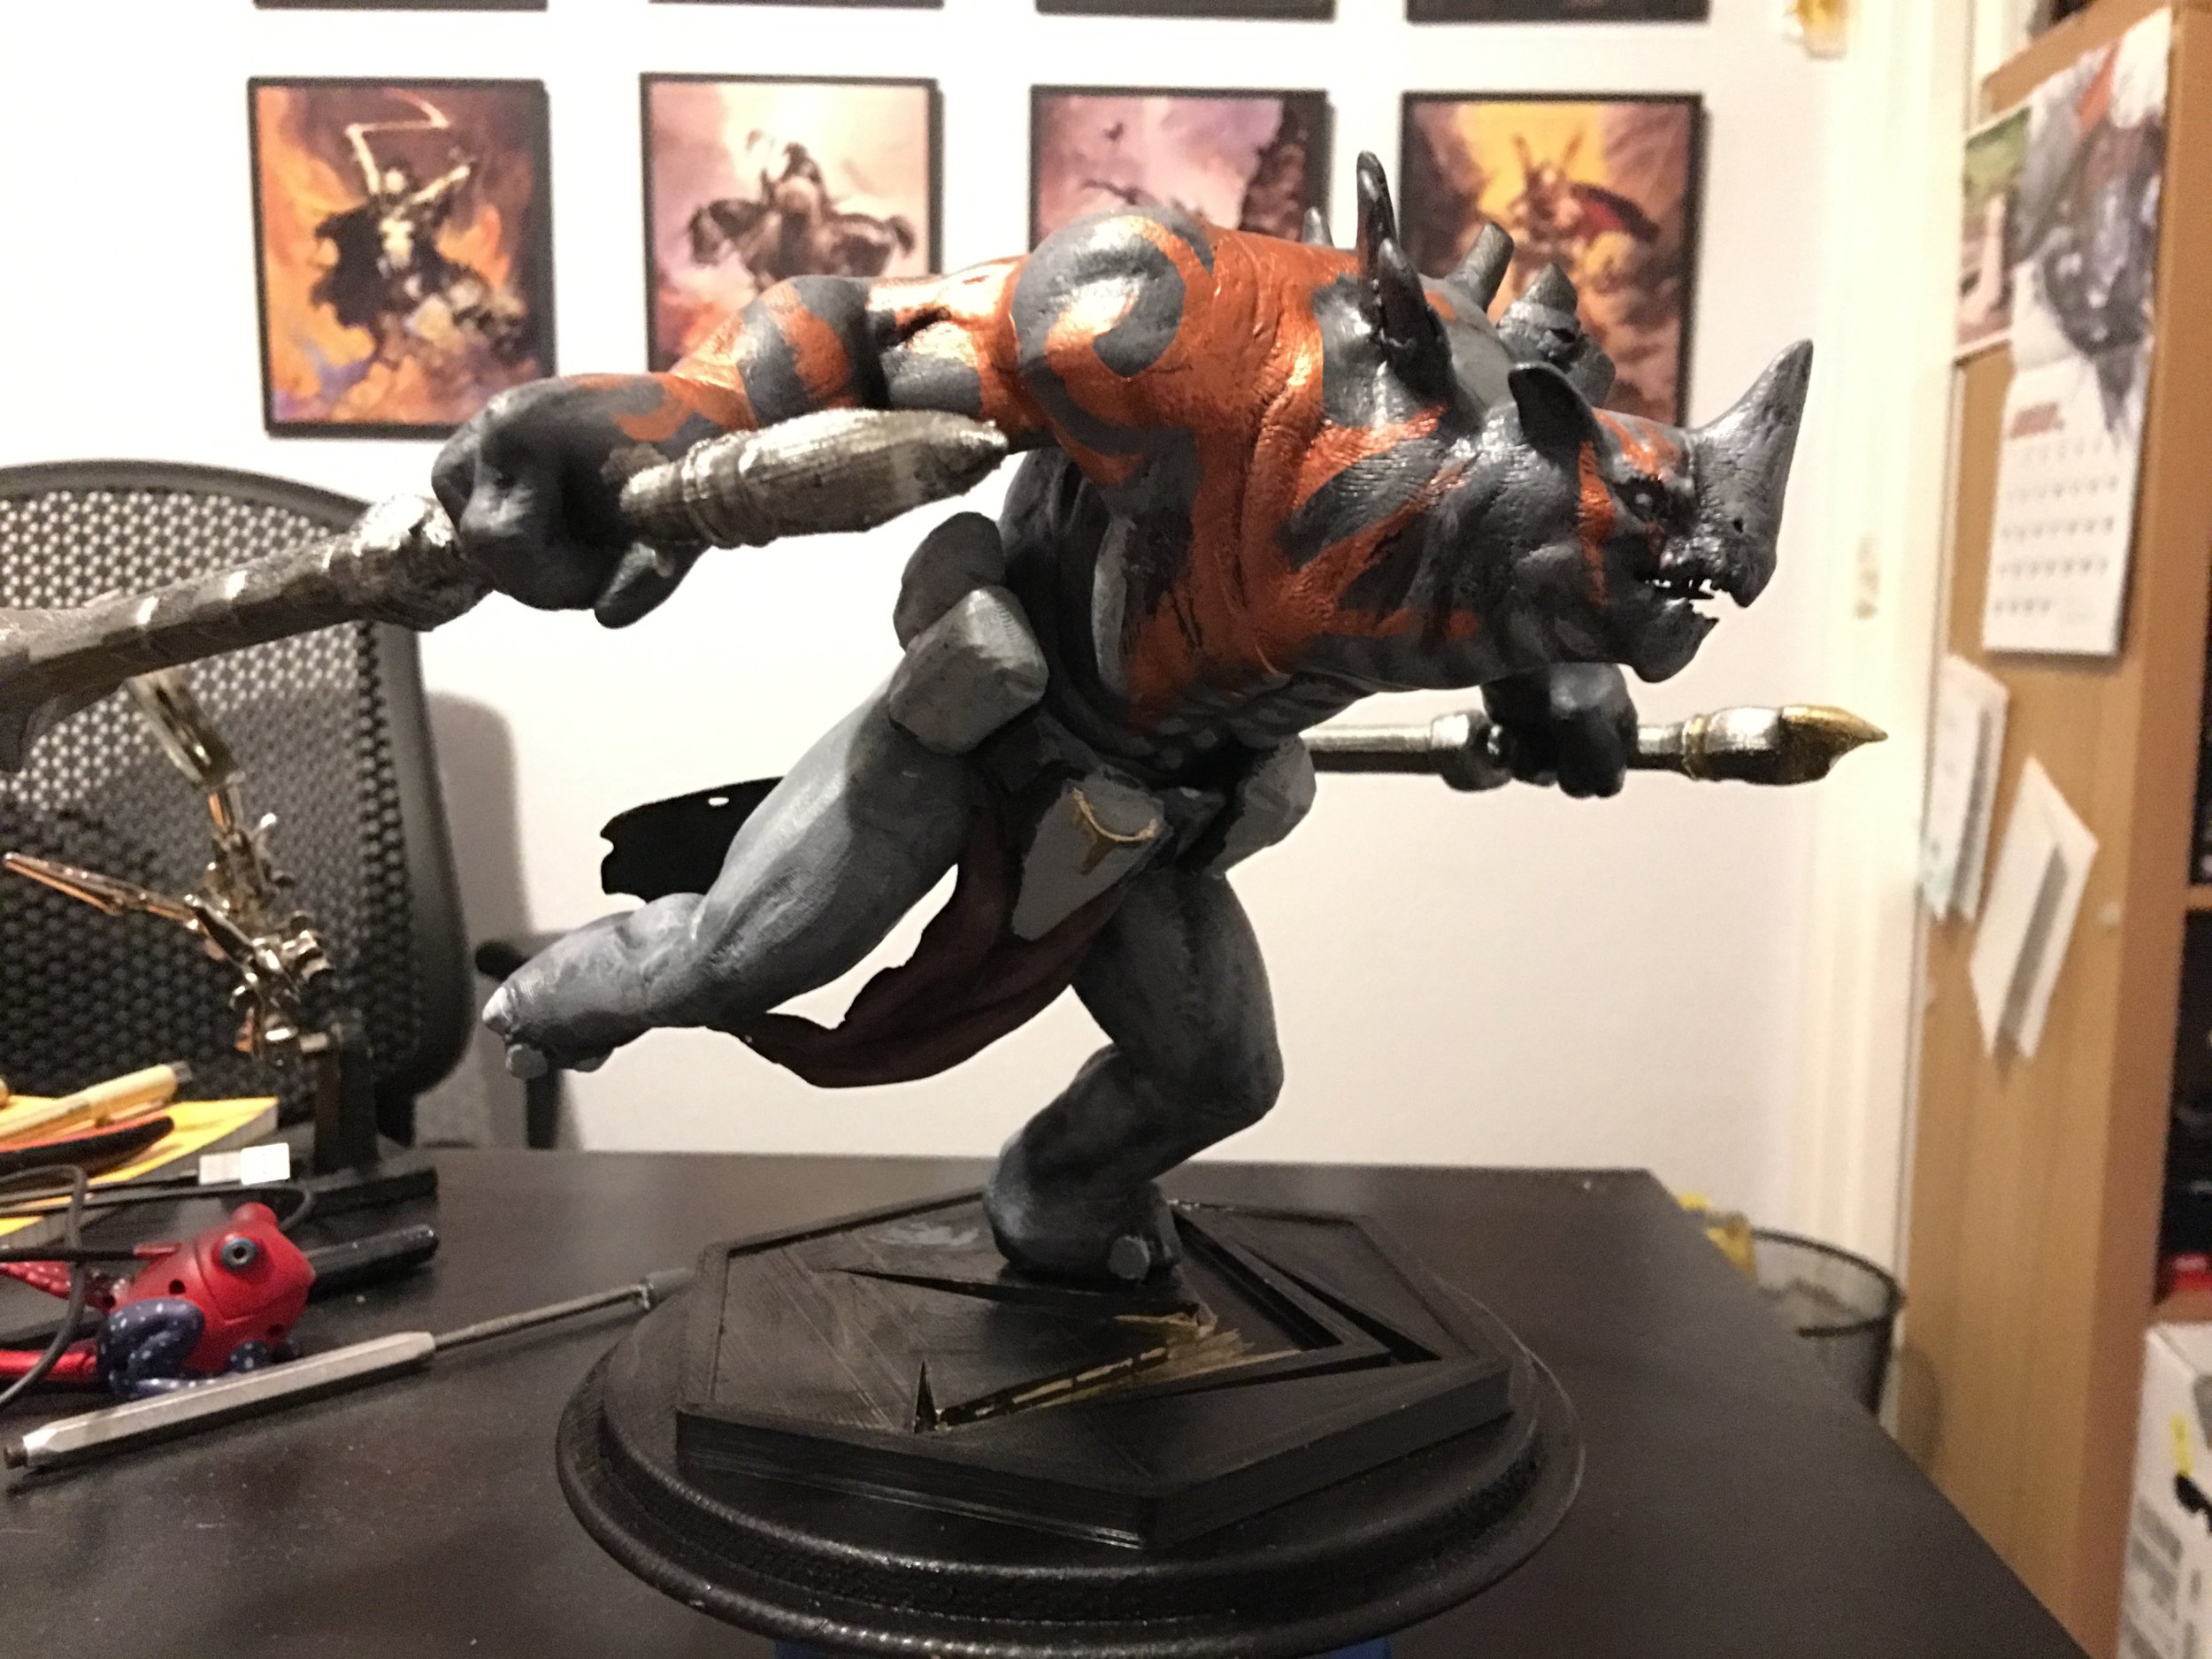
And on to the finish paint. All in all, a learning process. Future plans include making a mold, and casting a few of these in resin, and maybe painting a few different variants.
If you'd like the chance to own one, you can indicate your interests below and be notified of when they're available.